Whole-Milk Ricotta Cheese and Milk-Braised Pork

I am not a fearless dairy woman.  Last summer, I documented my lifelong squeemishness about cowy milk containing thick chunks of cream or downright butter.  I like a pasteurized layer of separation between me and the bovine source of my dairy.  But, in every place I have lived outside of the US, there are only extremes in dairy production and no middle ground.  One either buys raw milk, still steaming, delivered directly from farmers in metal cans or you buy ultra-pasteurized milk in UHT boxes, with all culture cooked out of it to allow it a shelf life of years.

I have been wanting to dabble in the queso-arts lately, but I’m not brave enough to flag down the local farmer who I see delivering milk from the back of his truck, using a giant dipper to pour it into the residents’ own jugs.  I think that is a beautiful thing and I should try it, but actually I don’t have the language skills to even approach it.

When I was in London two weekends ago, we went to the venerable royal provisioner temple of Fortnum and Mason.  Mostly, we bought English cheeses that we can’t get here:  cheddar and Stilton.  I will now admit, though, that I tucked in two quarts of very creamy whole milk with a cheese-making project in mind.

The process for making ricotta or cream cheese is actually as simple as claim says.  The difference between the two is the ratio of butter fat to milk:  more fat= cream cheese, less fat= ricotta.

Once the curds have been lifted from the whey, the whey can be used in a very nice meat braise, like milk-braised pork shoulder.  This was another of the recipes I piloted during my month-of-endless-cooking in April.  The leftover meat is fantastic shredded into tamales or on tostadas.

Whole Milk Ricotta and Cream Cheese

© 2010 Lynne Rossetto Kasper and Sally Swift

Makes 1 1/4 pounds

Ingredients

  • 1 gallon high quality whole milk
  • 2 teaspoons salt
  • 1/3 cup freshly squeezed lemon juice

Instructions

1. Line a large colander with a layer of cheesecloth and place in the sink or over a bowl if you want to save the whey. Wet the cheesecloth to hold it firmly in place.

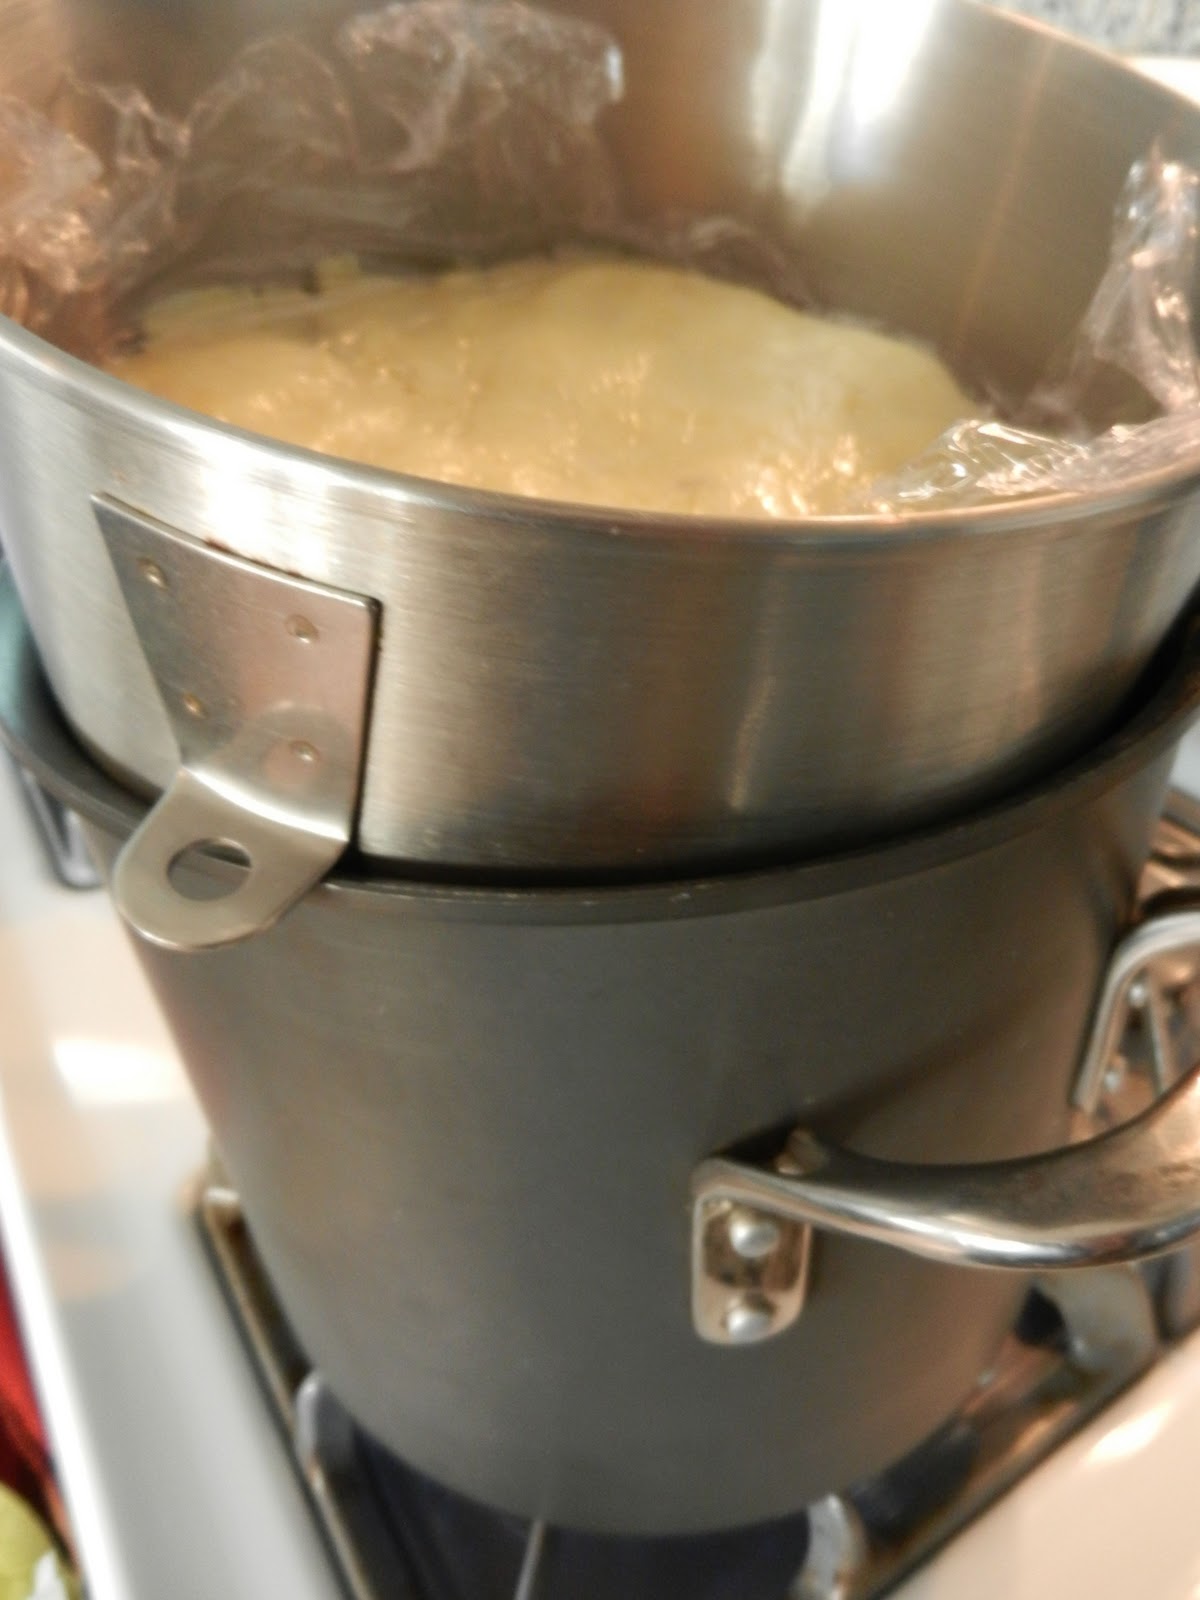
2. Over medium-high heat, bring the milk and salt to a gentle simmer in a heavy large pot. Stir in the lemon juice and continue to simmer gently until curds begin to form and float to the top, 1 to 2 minutes. They will first look like spatters of white, then gather into soft, cloud-like clumps. When you see the liquid begin to clear of cloudiness and the curds are firming up but not hard, scoop them out with a slotted spoon or sieve.
3. Let the curds drain thoroughly in the lined colander. If very soft, press gently to extract a little moisture, but take care not to dry out the cheese. Turn into a bowl, cover and chill.

Refrigerated cheeses keep for a week, but the ricotta is at its best eaten fresh.
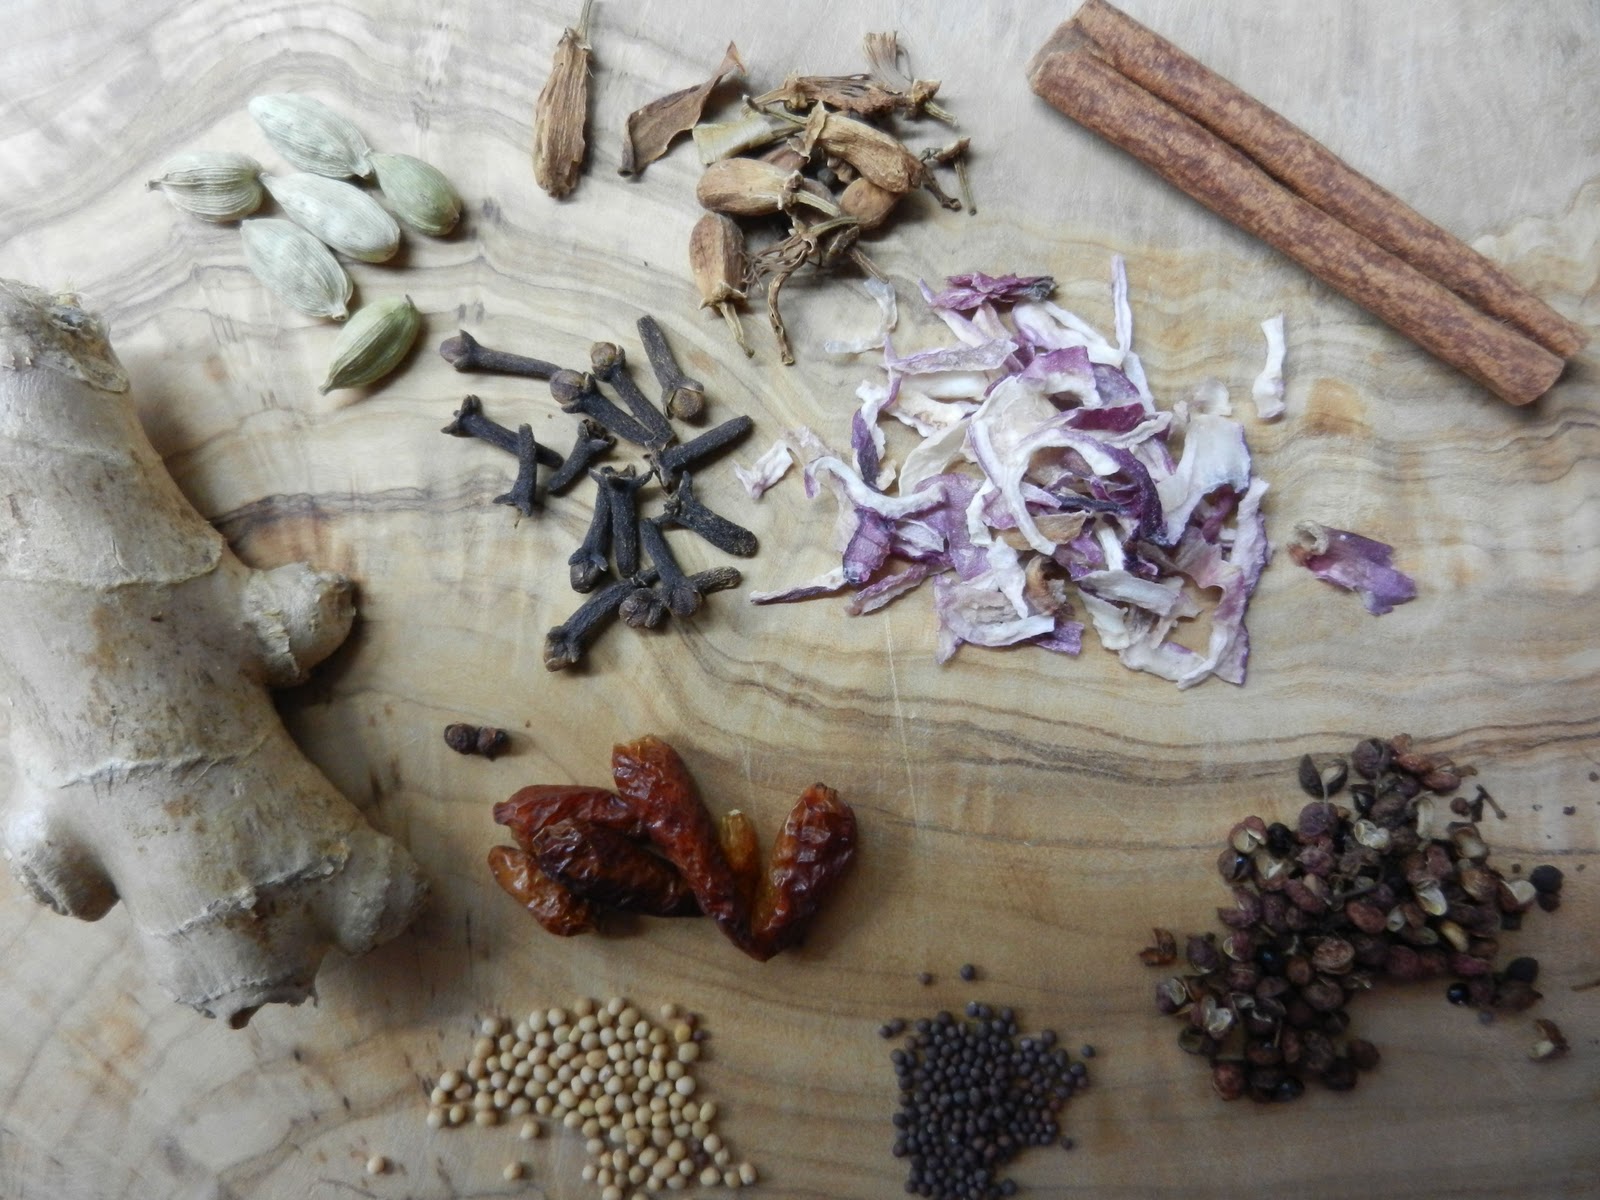
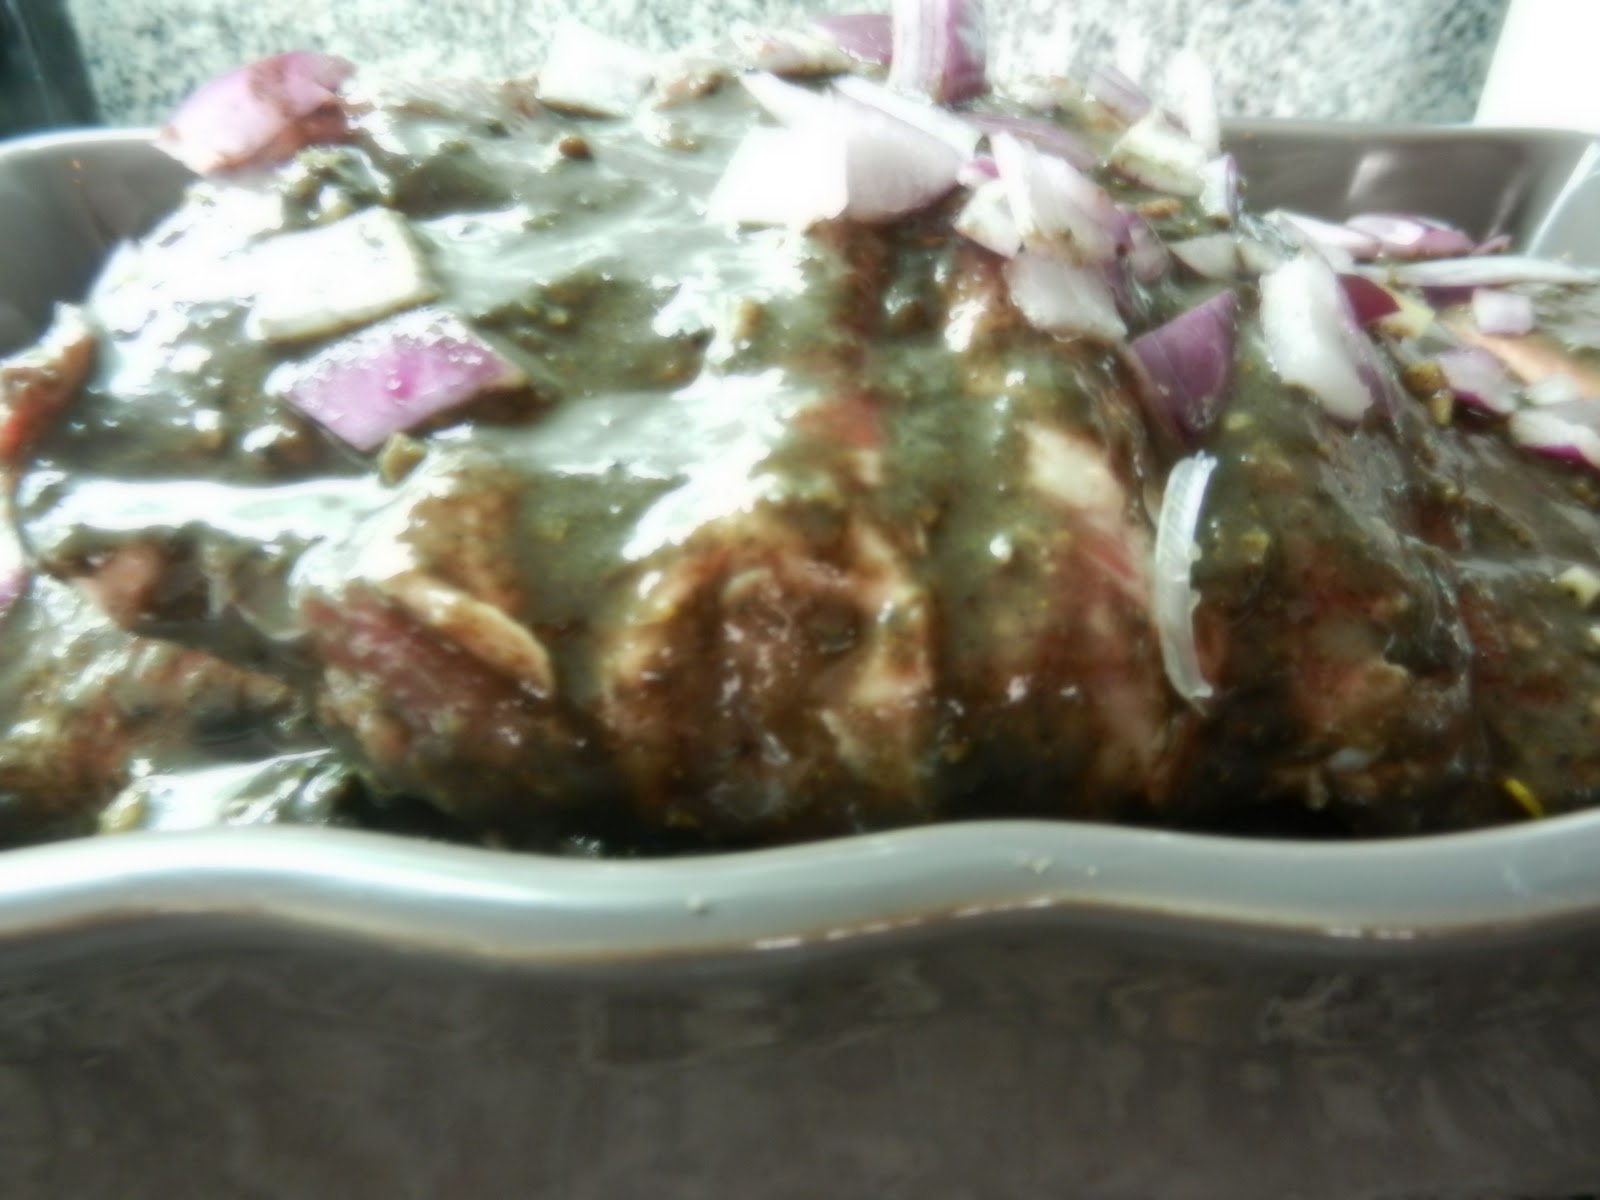
 

Milk-Braised Pork

From Wood-Fired Cooking, Mary Karlin

Ingredients

  • 1 (3-4 pound) boneless pork shoulder, some fat trimmed
  • Kosher salt and freshly ground black pepper
  • 3 tablespoons olive oil
  • 2 onions, coursely chopped
  • 3 juniper berries
  • 2 bay leaves
  • 2 sprigs rosemary or savory
  • 2 cloves garlic, thinly sliced
  • 3 1/2 cups whole milk (or whey)
  • 1/4 teaspoon freshly ground nutmeg
  • 1/2 cup walnuts, toasted and chopped

Directions

Season the pork with salt and pepper.  Heat the olive oil in a Dutch oven or heavy casserole over medium-high heat until it starts to shimmer.  Add the pork and sear all over until well browned.  Transfer the pork to a plate and set aside.  Remove all but 3 tablespoons of fat from the pot.  Return the pot to medium heat and add the onions, juniper berries, bay leaves, and rosemary and cook until the onions are tender, about 5 minutes.  Add the garlic and continue to cook until the garlic is lightly golden, about 3 minutes.  Return the pork to the pot and pour in the milk.  Cover and place in the oven (350 F) to braise for 2 hours, turning the pork 2 or 3 times during the course of cooking.

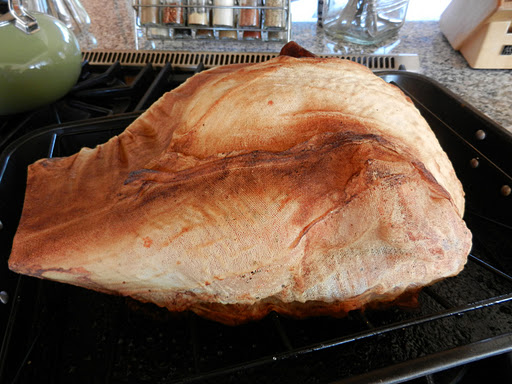
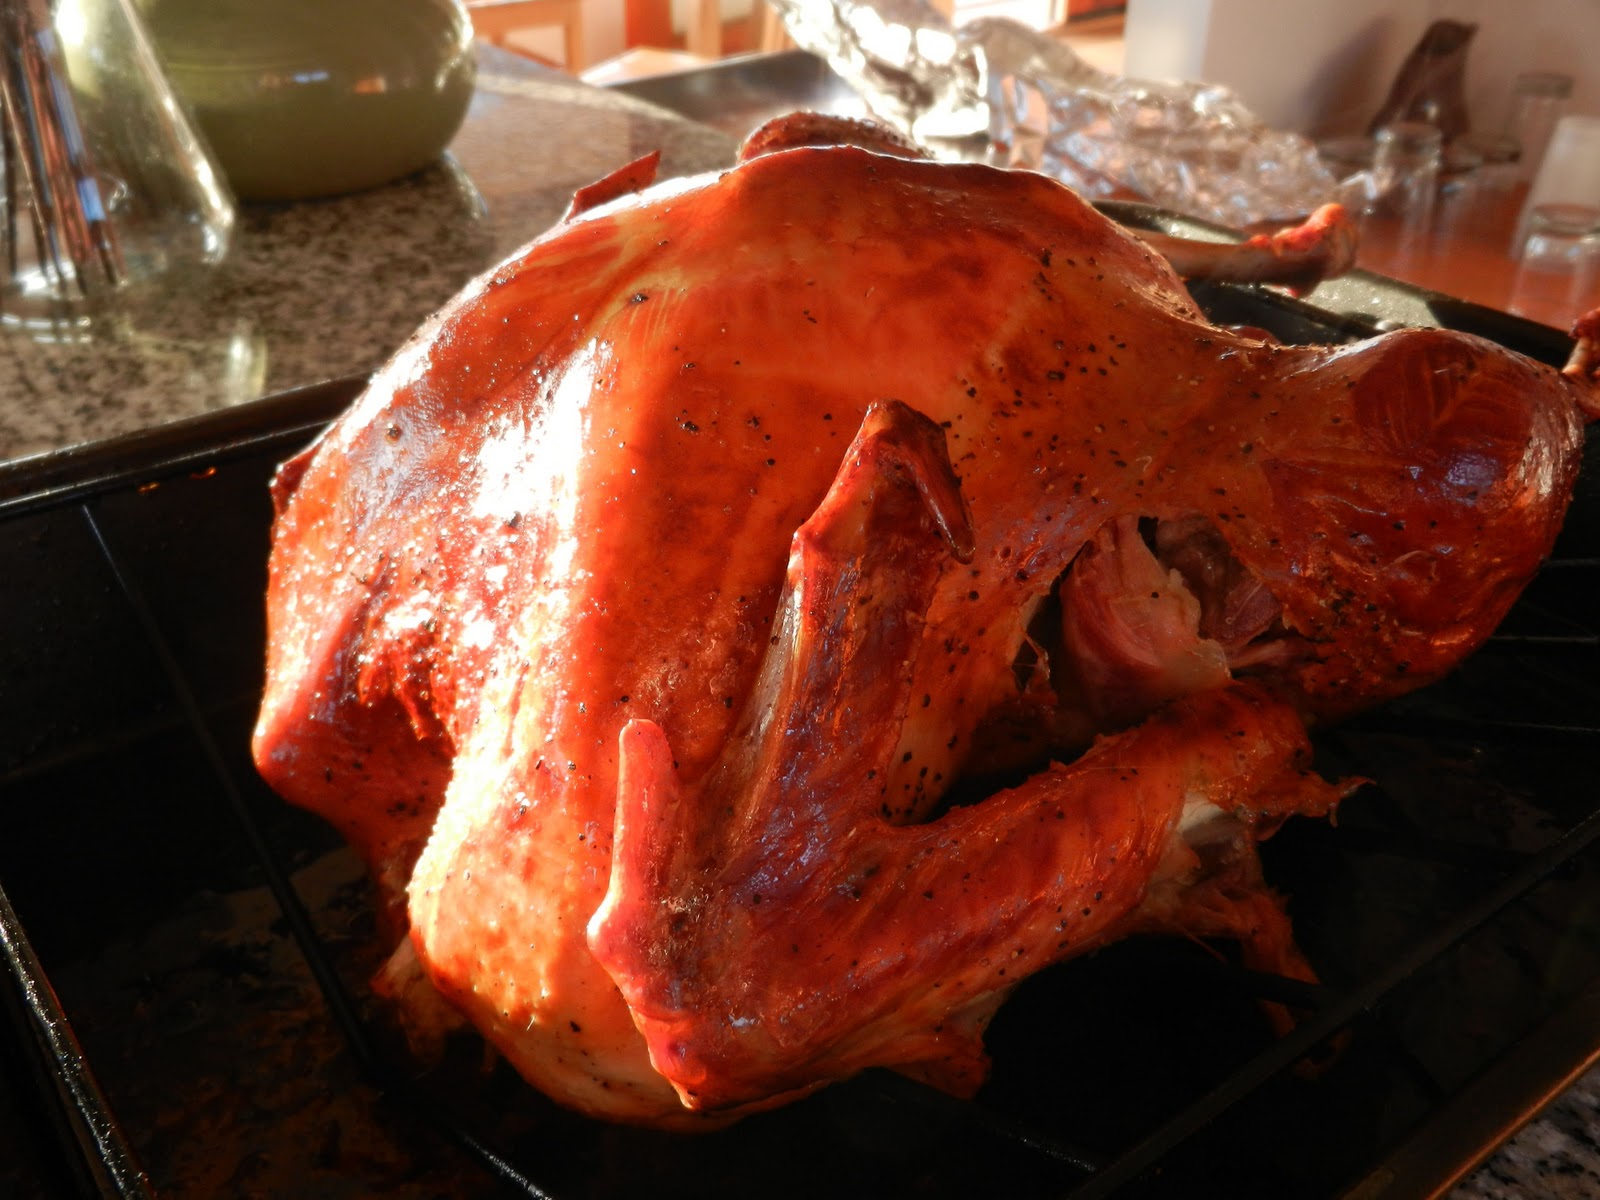
Uncover the pork after 2 hours and cook for 30 minutes, or until the meat is fork-tender.  Transfer the roast to a plate and tent with aluminum foil.

Remove the bay leaves, rosemary, and juniper berries from the milky sauce.  Skim any excess fat from the top.  The milk may have curdled in the cooking process.  Using an immersion blender, process the sauce until smooth.  Add the nutmeg and walnuts.  Return to the oven to heat through.  Taste and adjust the seasoning.

Slice the meat and serve with the sauce spooned over the top.

Winter Preserves Pork Ribs

There is a reason why humans invented the preservation methods of drying, candying, smoking, freezing, and keeping foods in airtight jars.  Of course, we all know it was to extend the life of foods a little beyond the growing season and to prevent starvation during the dormant months. The other motivation was to keep foods so they could be transported from an entirely foreign climate which would allow people to enjoy pineapples, and cloves, and even herring when they had no way of harvesting those foods themselves.

            When I travel, I am always picking up interesting dried herbs and spices, dried fruit, potted meats, and fruit preserves.  It is a luxurious feeling to know I have exotic hard spices or a glistening jar of preserves in the pantry, but sometimes, those “special” items get passed over when I am cooking because they require a little bit of imagination or preparation such as toasting and grinding.  Also, it is true that people just don’t eat so many jams and jellies as they used to even though we still love the idea of them.  Rather than waiting for the odd piece of receptive toast, this type of recipe is a great way to use those gems.
            My intent today was to use a good quantity of my pantry items with pork ribs as the vehicle. The recipe is then easily adaptable to your own pantry.  If you think of your basic barbecue sauce you usually take a base like tomatoes, contrast it with mustard and vinegar, and then add a few spices for flavor.  With that formula in mind, I made ribs that were akin to the sticky Chinese style, without replicating that icon.
Spice Mix
2 tsp. fresh ginger, minced
5 cloves garlic, minced
2 shallots, minced or 1 tbsp. dried
Artisinal salt to taste
Grind the following in a spice grinder:
½  tsp. each of cardamom, cloves, dried peppers, cinnamon, Sichuan pepper, yellow mustard seeds,  black mustard seeds, and star anise (I also added a Tunisian specialty of dried bitter orange blossoms.  If you want the extra orange essence, you can add some orange zest.)
Mix all spice ingredients together.
Marinade
½ cup black sesame paste
½ cup orange or lemon marmelade
1/3 cup tomato vinegar or ketchup
1/3 cup soy sauce
Stir spice mix into marinade ingredients.
Dice 1 large onion.  In a deep baking dish, layer chopped onions and rib sections that have been covered on both sides with the marinade mixture.  Intersperse so the onions touch all sides of the pork.  Pour 1 cup water around the side of the meat.  Cover dish tightly with aluminum foil and bake at 300 degrees for two to three hours or until the meat is completely tender.  Uncover for the last 30 minutes to reduce the liquid and caramelize the meat.  If the cooking liquid is still watery, remove the meat and reduce the liquid in a saucepan on the stovetop until it thickens.
In a small foil pan or open topped foil packet (approx.. 6” square), combine ½ cup black or green tea, ½ cup dry rice, and ¼ cup brown sugar.  Place in the bottom of a barbecue with a lid.  Heat barbecue to medium heat.  When tea mixture begins to smoke, add ribs for approximately 15 minutes or until they have taken on a subtle smoky flavor.  Remove ribs to a platter.    When cool, discard tea packet.
 Spicy, bright, sweet, smoky.  Very nice for a winter Sunday supper.  What’s in your pantry?

Turkey Deconstructed

            As I said, we’re not going to be home for Thanksgiving Day this year.  But I’m still sentimental about turkeys, even though I already made an early Thanksgiving dinner with my boys when I was home on Lummi Island in October.  I do highly recommend that butter and wine shrouded turkey we made.

            But when you live overseas, your options are limited both by the availability of turkey and by the size of your oven.  We are fortunate in Tunisia that turkeys were introduced here as a Peace Corps initiative decades ago and they are available year-around.
            For preparation methods, this is a good time to consult the wisdom of American star chefs who live abroad and one of my favorites is David Tanis.  He is the head chef for six months of the year at Chez Panisse, in Berkeley, and then lives a French life for the other six.
I don’t have a small oven here.  I was fortunate to inherit an imported GE Profile, regulation American size.  It is a completely common oven in the US, but here, it is a prize and I do love it.  More the norm, though, is a small oven that can’t hold anything of much breadth.
            David Tanis had this problem and writes about a fortuitous French communication error that ended up leading to one of his best Thanksgiving meals ever.
Americans Abroad
            One year, I was the one making Thanksgiving dinner in Paris, and for this particular meal, it seemed as if we had every expat in town descend on our little Paris apartment on the rue St. Jacques.  There were going to be about forty-five of us in all.  So I went to my neighborhood butcher, Charcellet, to get my turkey.  They have really good turkeys in France—small but tasty—and Parisians know about la fete americaine.  I told the butcher that I wanted him to take the breasts off, take the legs off, and save me all the bones.  I told him I needed three birds, see you tomorrow, au revoir.
            I came back the next day and he showed me what he’d done; instead of cutting off the legs and breasts, he had deboned the whole turkeys, as only a master butcher can do.  I marveled.  It turned out to be a brilliant solution because we have the tiniest oven in the world.  At first the birds were flat as roadkill, but I put salt and pepper all over them, smeared the insides with garlic and thyme and sage in great quantity, molded them back into a bird shape, and tied them with string to keep them compact.
            Long story short, I found that three compact little re-formed turkeys would fit side by side in one roasting pan.  When they came out of the oven, I had perfectly cooked roast turkeys with not a speck of unusable anything!  And the cooking time was only an hour and a half.
            Our friends said it was the best turkey they’d ever had in their lives.  You could slice through the body as if it were a galantine—all meat and no stuffing.  And this technique applies to every bird in the world.  All you need is a good butcher or a lot of patience.  Simpler by far is the recipe for the deconstructed bird that follows.
Roasted and Braised Turkey with Gravy
            I always prefer to cook a smaller turkey.  The secret to great flavor is to season the turkey overnight so begin this process the day before.  You can make the broth a day ahead, too.
            Have the butcher remove the legs with the thighs attached, cut off the wings, and cut the boneless breast in 2 pieces.  While you’re at it, ask him to chop up the carcass for your stock.  You’ll be going home with 2 whole legs with thighs, 2 wings, the skin-on breast in 2 pieces and a bag of bones.  Make sure to get the giblets, too.
For the turkey
One 12- to 14-pound turkey, cut into six parts (as above)
Salt and pepper
1 bunch sage leaves, chopped
1 small bunch thyme, leaves stripped and chopped
6 garlic cloves, smashed to a paste with a little salt
2 tablespoons olive oil
For the broth
3 pounds turkey carcass and bones (or other poultry bones)
1 large onion, peeled, halved, and stuck with 1 clove
1 carrot, peeled and chopped
1 celery stalk, chopped
2 bay leaves
2 or 3 slices dried porcini mushroom
About 6 quarts water
For the braise
3 tablespoons butter
2 large onions, chopped
Salt and pepper
3 tablespoons all-purpose flour
1 tablespoons tomato paste
1 cup dry red wine
Parsley or watercress sprigs
Put all the turkey pieces out on a big cutting board and season well on both sides with salt and pepper.
            Mix the sage, thyme, and garlic in a small bowl and add the olive oil.  Spoon the seasoning mixture over the meat and smear it in well.  Put the legs and wings in a container, cover, and refrigerate.  Wrap the breasts in plastic and refrigerate.
            To make the broth, preheat the oven to 400’F.  Put the turkey carcass and bones, onion, carrot, celery, and bay leaves in a roasting pan and into the oven.  Roast for about 30 minutes, stirring occasionally, until everything is nicely browned.
            Transfer the browned vegetables and bones to a big soup pot.  Splash a little water into the roasting pan to dissolve any tasty bits left in the pan, and put into the pot.  Add the dried mushroom and water and bring to a boil.  Skim off the scum, turn the heat down to a simmer, and let it cook slowly for 1 ½ to 2 hours.
            Strain the broth through a sieve.  You should have about 5 quarts of turkey broth.  Cool, then refrigerate; when ready to use, skim off the fat that has risen to the surface.
            To make the braise, preheat the oven to 400’ F.  Put the legs and wings in a large roasting pan, with enough room so they’re not crowded.  Put the pan in the oven and let the parts roast while you prepare the braising liquid. 
            In a large skillet over medium heat, melt the butter.  Add the onions and season them with salt and pepper.  Let them cook gently, stirring occasionally, until softened, about 10 minutes.  Turn up the heat and let the onions color a little bit.
            With a wooden spoon, stir in the flour and tomato paste and mix well.  Add the red wine and 2 cups of the turkey broth and bring to a simmer, stirring as the sauce thickens.  Gradually stir in 2 more cups of broth.
            Remove the pan of legs and wings from the oven.  They should be nicely golden, but not too dark.  Pour the braising liquid over the legs.  Cover the pan tightly with foil and return to the oven.  Reduce the heat to 350’ F and let it go for about 1 ½ hours, or until the legs are tender when tested with a fork.  Transfer the legs and wings to a cutting board and let them cool slightly.
            Strain the braising liquid through a fine-mesh sieve into a saucepan, skimming off any fat tat rises.  This will be your gravy.  Taste the sauce for seasonings and texture.  If it’s too thin, reduce it a bit over medium heat until it reaches a consistency you like.  Set aside.  (The braise can be done hours ahead or the day before and refrigerated.)
            When the turkey parts are cool enough to handle, remove the let meat from the bones in large pieces and tear the meat from the wings.  Cut the meat into rough slices and put in a baking dish.  Cover and hold at cool room temperature.
            Remove the breasts from the refrigerator and let them come to room temperature.  The breasts will take only about a half hour to roast, so they can be started up to an hour before dinner in a 375’ F oven.  Put them in a shallow roasting pan, skin side up, and into the over.  Check at 30 minutes—you want an internal temperature of 140’F (The temperature will continue to rise as they rest.)  Let them rest on a platter, loosely covered, for 15 to 30 minutes before carving.
            Shortly before serving, reheat the dark meat in the oven for 10 to 15 minute, until heated through.  Reheat the gravy and put it in a serving bowl.
            Slice the turkey breasts on an angle, not too thickly.  Arrange the turkey on a warm platter and garnish with parsley or watercress.
(Tanis, David.  2010.  Heart of the Artichoke.  New York, Artisan.)
This is going out to all of my expatriate friends all over the world.  Happy Thanksgiving with the families you’ve pulled around you.

Birthday Braise

          It’s Allan’s birthday.  We have a long succession of November birthday parties together.  It turns out to be a nice time for a party.  The weather is cool, but not yet frigid and some warm and filling foods taste very good.

We had 12 great friends over and lucked out with a warmer than recent evening, a lovely night sky,  and no wind.  We pulled the garden tables close to the barbecue and kept a fire going all evening.
The main dish was Cranberry Short-Rib Stew.  This was, again, from the stew/beer pairings section of the October 2011 edition of Sunset Magazine.  The recommended beer was Deschutes Brewery Black Butte Porter.  There were a lot of smokey and bright flavors in this stew that might not have been immediately recognizable, like chocolate, cranberries. ginger, and orange zest.  After cooking a couple of hours, the meat was tender enough, but the stock was still a little watery.  I uncovered the dish and continued to bake it for about 2 more hours which served to caramelize all of the complexities.

I couldn’t buy meat on bones at our butcher so I bought meat and bones.
After browning, but before braising.  See recipe for finished dish photo.

Since we are officially off pumpkin.  I omitted the addition of pumpkin in the stew, but it still needed some color.  Instead, I roasted some of our vibrant, almost red carrots.  I drizzled them with olive oil and seasoned them with herbes de provence, Himalayan pink salt, and pepper.  They needed to roast for at least 2 hours to get completely tender and a little caramelized.  As a finishing touch, I drizzled them with some passion fruit vinegar, which set them off nicely.

Think you already have the perfect mashed potato sequence?  Bon Appetit has a process that might give you some new thoughts about it.  You start with large cubed potatoes that you cook in salted water.  When they are fork tender, you drain them and turn them out onto a baking sheet to cool and dry for about 15 minutes.

Then, you force the potatoes through a ricer or food mill, along with 1/2 cup of chilled butter.

Heat milk, cream, bay leaves, fresh thyme or rosemary, and pepper corns on the stove.  Allow to steep about 20 minutes and then strain.  Reheat milk mixture.  Pour over potatoes as you stir.  I used the dough hook on my Kitchen Aid mixer.

This may be the biggest tip of the recipe:  at this point you can hold the potatoes in fluffy condition if you do the following.  Number one, cover the potatoes with plastic wrap directly touching them.  Number two,  keep them in a bowl over, but not touching, simmering water.

I kept them for over an hour and they turned out great.

And because I said I would, here is the link to the chocolate peanut butter cake at Smitten Kitchen.  Yes, it is a great recipe.